I'm late in posting the first few weeks of September's planner spreads, but here they are!
September Monthly View
 |
| Watercolor background, washi tape, hexagonal stickers for dates |
Week 1 (only two days so I decorated the left page for fall)
 |
| Scraped paint background, paper and magazine scraps, planner stickers and die cut leaves |
Week 2
 |
| Left page - watercolored background, lots of Freckled Fawn planner stickers, tip-in with photo |
 |
| Right page - multi-layered colorful background, then applied bird mask and painted with dark navy on entire page, doodled and journaled with white pen |
 |
| Entire spread |
Week 3
 |
| Painted background, washi tape, quote journal card, flower from magazine |
I took photos of my process while doing the week 2 spread. If you are interested, keep reading and scrolling. Or, you can just finish the post now!
THE MAKING OF A PLANNER SPREAD
Step 1

After adding washi tape to the edges, I watercolored both pages with purple and green. I handmade this Traveler's Notebook insert with just regular copy paper which is not the best for watercolor, but most will be eventually covered up anyway.
I was sent this sticker set along with a TN planner cover from Freckled Fawn so decided to use it on this spread. They have super cute products and a monthly planner kit.

Step 2
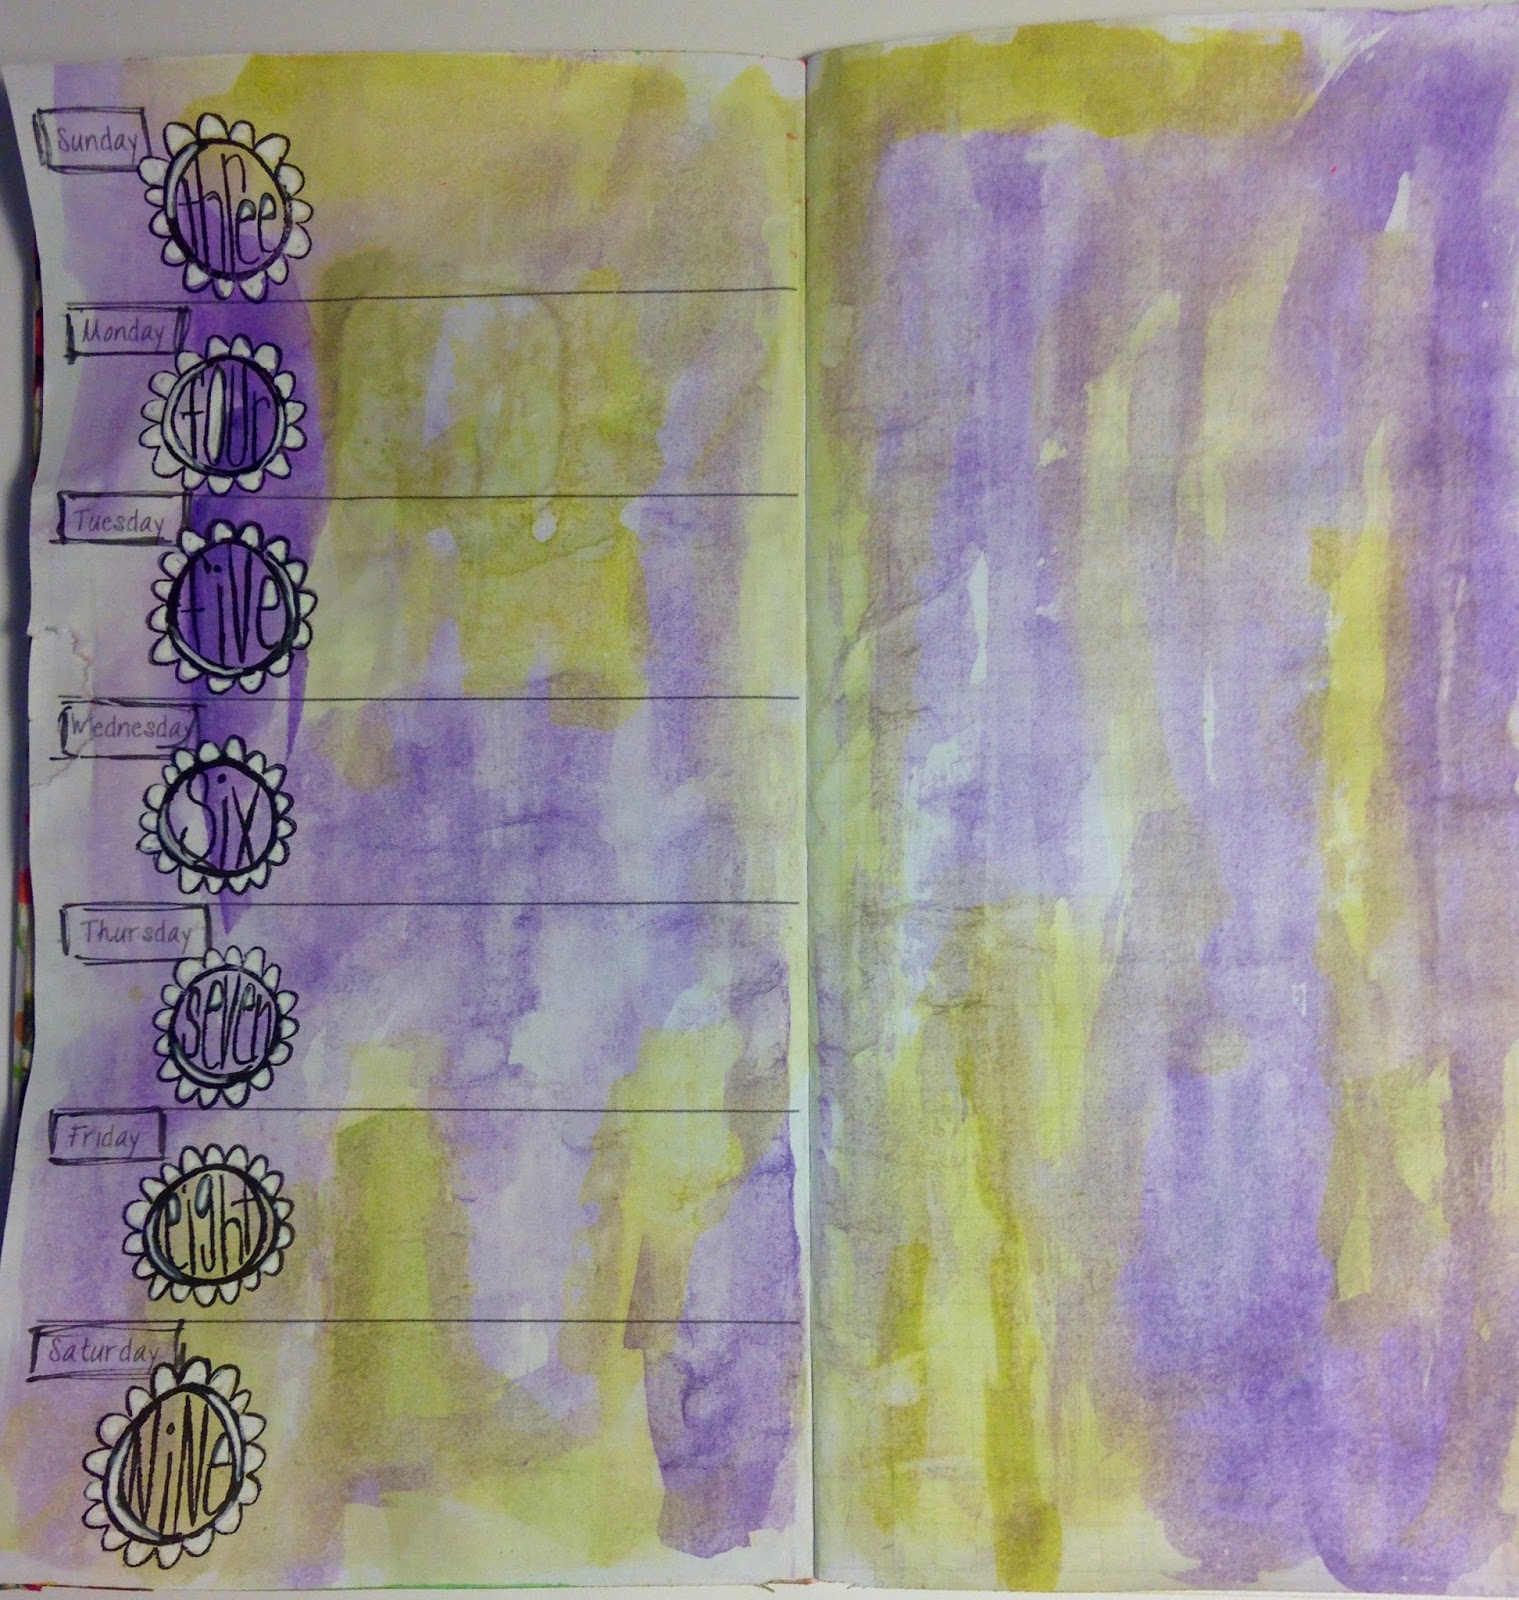
Since the days of the week were already printed on the insert, I just highlighted them with a black pen. I stamped the numbers with one of my favorite stamp sets from Rae Missigman and permanent black ink, then filled in the scallops with my favorite white pen - Signo Uni-ball.
Step 3

Added narrow washi tape dividers.
Step 4

Then I went to town on the left page detailing events of the days and adding many of the cute Freckled Fawn stickers. I also made a tip-in with two photos from our weekend with our grandsons. The photo below shows the other side of the tip-in. I used one of the circle stickers from the set, folded in half, as a tab at the top of the tip-in.

Step 5

On the right page I added many layers of color, forgetting to take photos of each step. First I added red ink with a chevron roller stamp, then orange paint with a foam circle stamp. Then I stamped yellow paint with a bottle lid and stenciled it through punchinella. Next came green and pink paint smudged on with my finger, then white paint with a circle stamp and black ink with a splatter stamp (these last two can be seen in the bird below).
Step 6

I placed a bird mask (a very old Heidi Swapp product) on the page and then painted all around it with Dina Wakley's "Night" paint - a beautiful opaque indigo. I love this technique! I outlined the bird with white pen to highlight it and doodled scallops for added interest. Finally, I journaled with the white pen.
And here again is the final spread:

I hope you enjoyed following along with the process!
1 comment:
I see "furniture shop" - just did that. I also see "clean craft room" - definitely need to do that. Thanks for the reminder.
Great pages, by the way!
xo
SuZeQ
Post a Comment